Studio 101: The Basics of Studio Photography

Setting up a studio is undeniably a daunting task especially for someone who is new to studio photography, however with the right techniques and know-how one can achieve stunning images with the creative use of studio lights! If you are in to it, this post will hopefully point you in the right direction!
Essential Number 1: Backdrop
Backdrops are basically what the background of your subject will be, its usually either a roll of paper, cloth or even just a well painted wall by itself. It is however important to note that backdrops are usually made of light absorbing materials, if you are using DIY backdrops, a large piece of cloth will suffice! However, you will probably need stands to support the cloth as well.
Essential Number 2: Camera
This may seem like an obvious, but we are more concerned about how the camera is setup for the shoot. We suggested connecting your camera via USB to the computer to allow you to have real time monitoring of your shoot results. For Canon users, EOS Utility provides a simple solution to preview your shots during a shoot.
Cameras such as DSLRs with hotshoe flash mounts are required as most cameras do not have built in flash triggers. Using your camera’s “pop up flash” to trigger strobes/speedlite is not recommended as it requires the flash and strobe to have line of sight and greatly limits the flexibility of your setup.
So what settings should I use?
The basics of photography (Shutter Speed, Aperture and ISO) still applies, but note however that most flash sync speed hover around 1/180 – 1/250 depending on the camera. Using any shutter speed above this will lead to black bars on your image. It is also important to use a lightmeter to gauge the proper exposure of your lighting setup before every shoot.
Essential Number 3: Speedlite or Strobes?
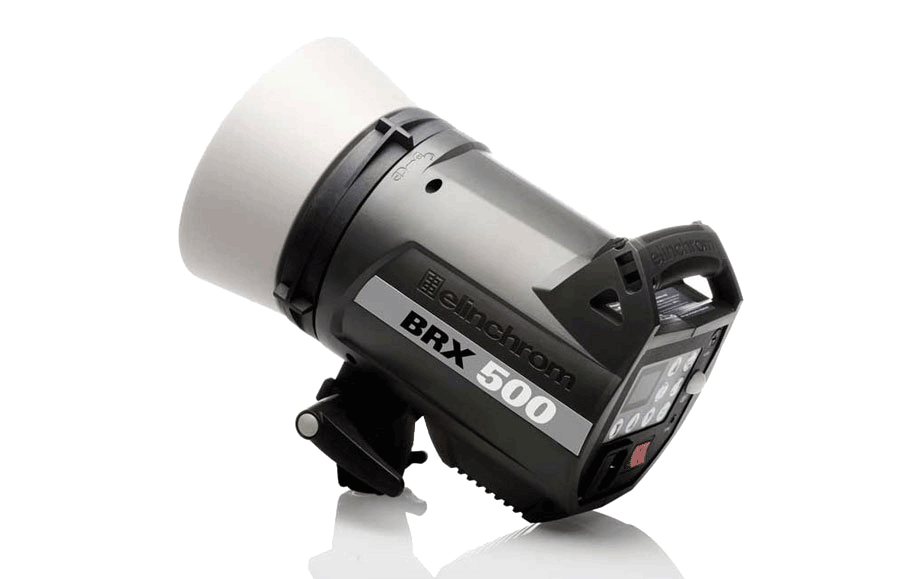
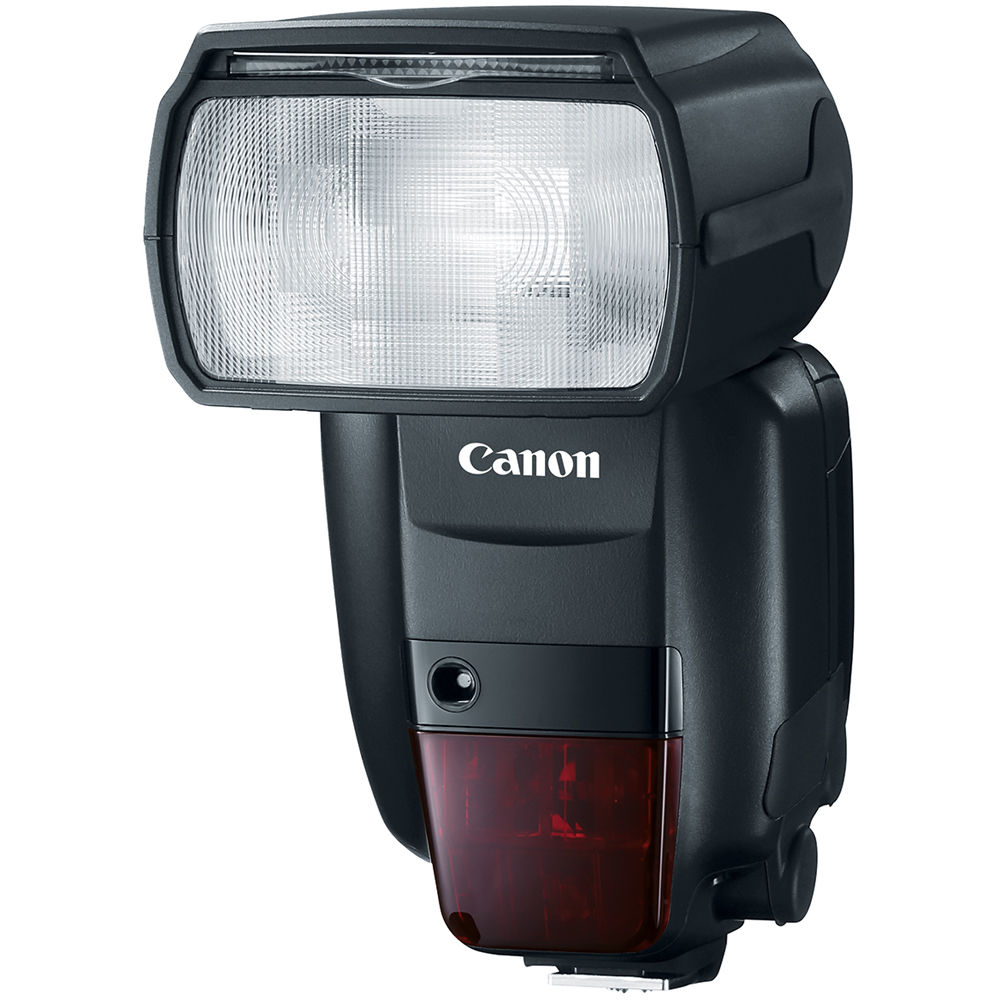
Speedlites provide the most portable and cost effective option, however, it is generally not recommended to use speedlites in place of strobes. Speedlites pump out much less power compared to strobes and offer less features and options compared to a strobe. Moreover, speedlites have slower recycle times.
In general, Speedlites offer a good start to studio photography, but we do not recommend using them for serious studio shoots!
Strobes such as the Elinchrom BRX 500 (Left) are recommended, while speedlites such as the Canon 600EXII-RT offer a good start!
Essential Number 4: Wireless Triggers
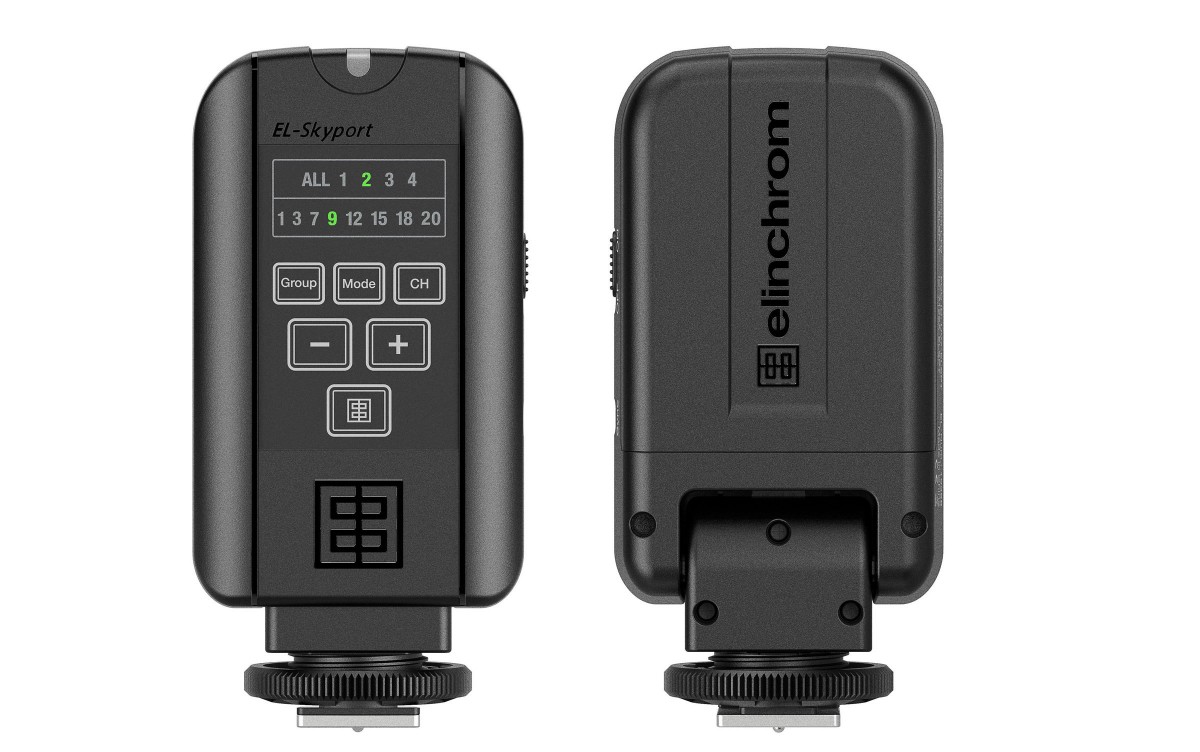
As mentioned previously, it is generally not recommended to use in built flash systems as flash triggers. Most professional studio setups use flash transmitters to trigger their flash. One such trigger that Elinchrom has is the Elinchrom EL-Skyport Transmitter Plus. (Pictured below)
By using such wireless system triggers, the photographer can practically be anywhere within a specified range and not worry about not triggering the flash. Moreover, the Elinchrom EL-Skyport Transmitter Plus offers the functionality of grouping the strobes (must be Elinchrom strobes).
Now one must be wondering, if there is a transmitter shouldn’t there be a receiver?
The answer is simple, for Elinchrom most of their strobes have built in receivers which reduces the hassle of having a receiver attached!
Essential Number 5: Softbox or Umbrella?
The direct light emitted from a strobe is usually very harsh and blinding for your model, unless that is what you are going for we recommend using softboxes or umbrellas to soften the light so that the shadows are less harsh and it gives you catchlight in the eyes.
Umbrellas generally diffuse the light with little to no directional control, softboxes on the other hand give you more directional control over your lighting. Softboxes can come in all shapes and sizes which give you greater flexibility in controlling your light!
![]()
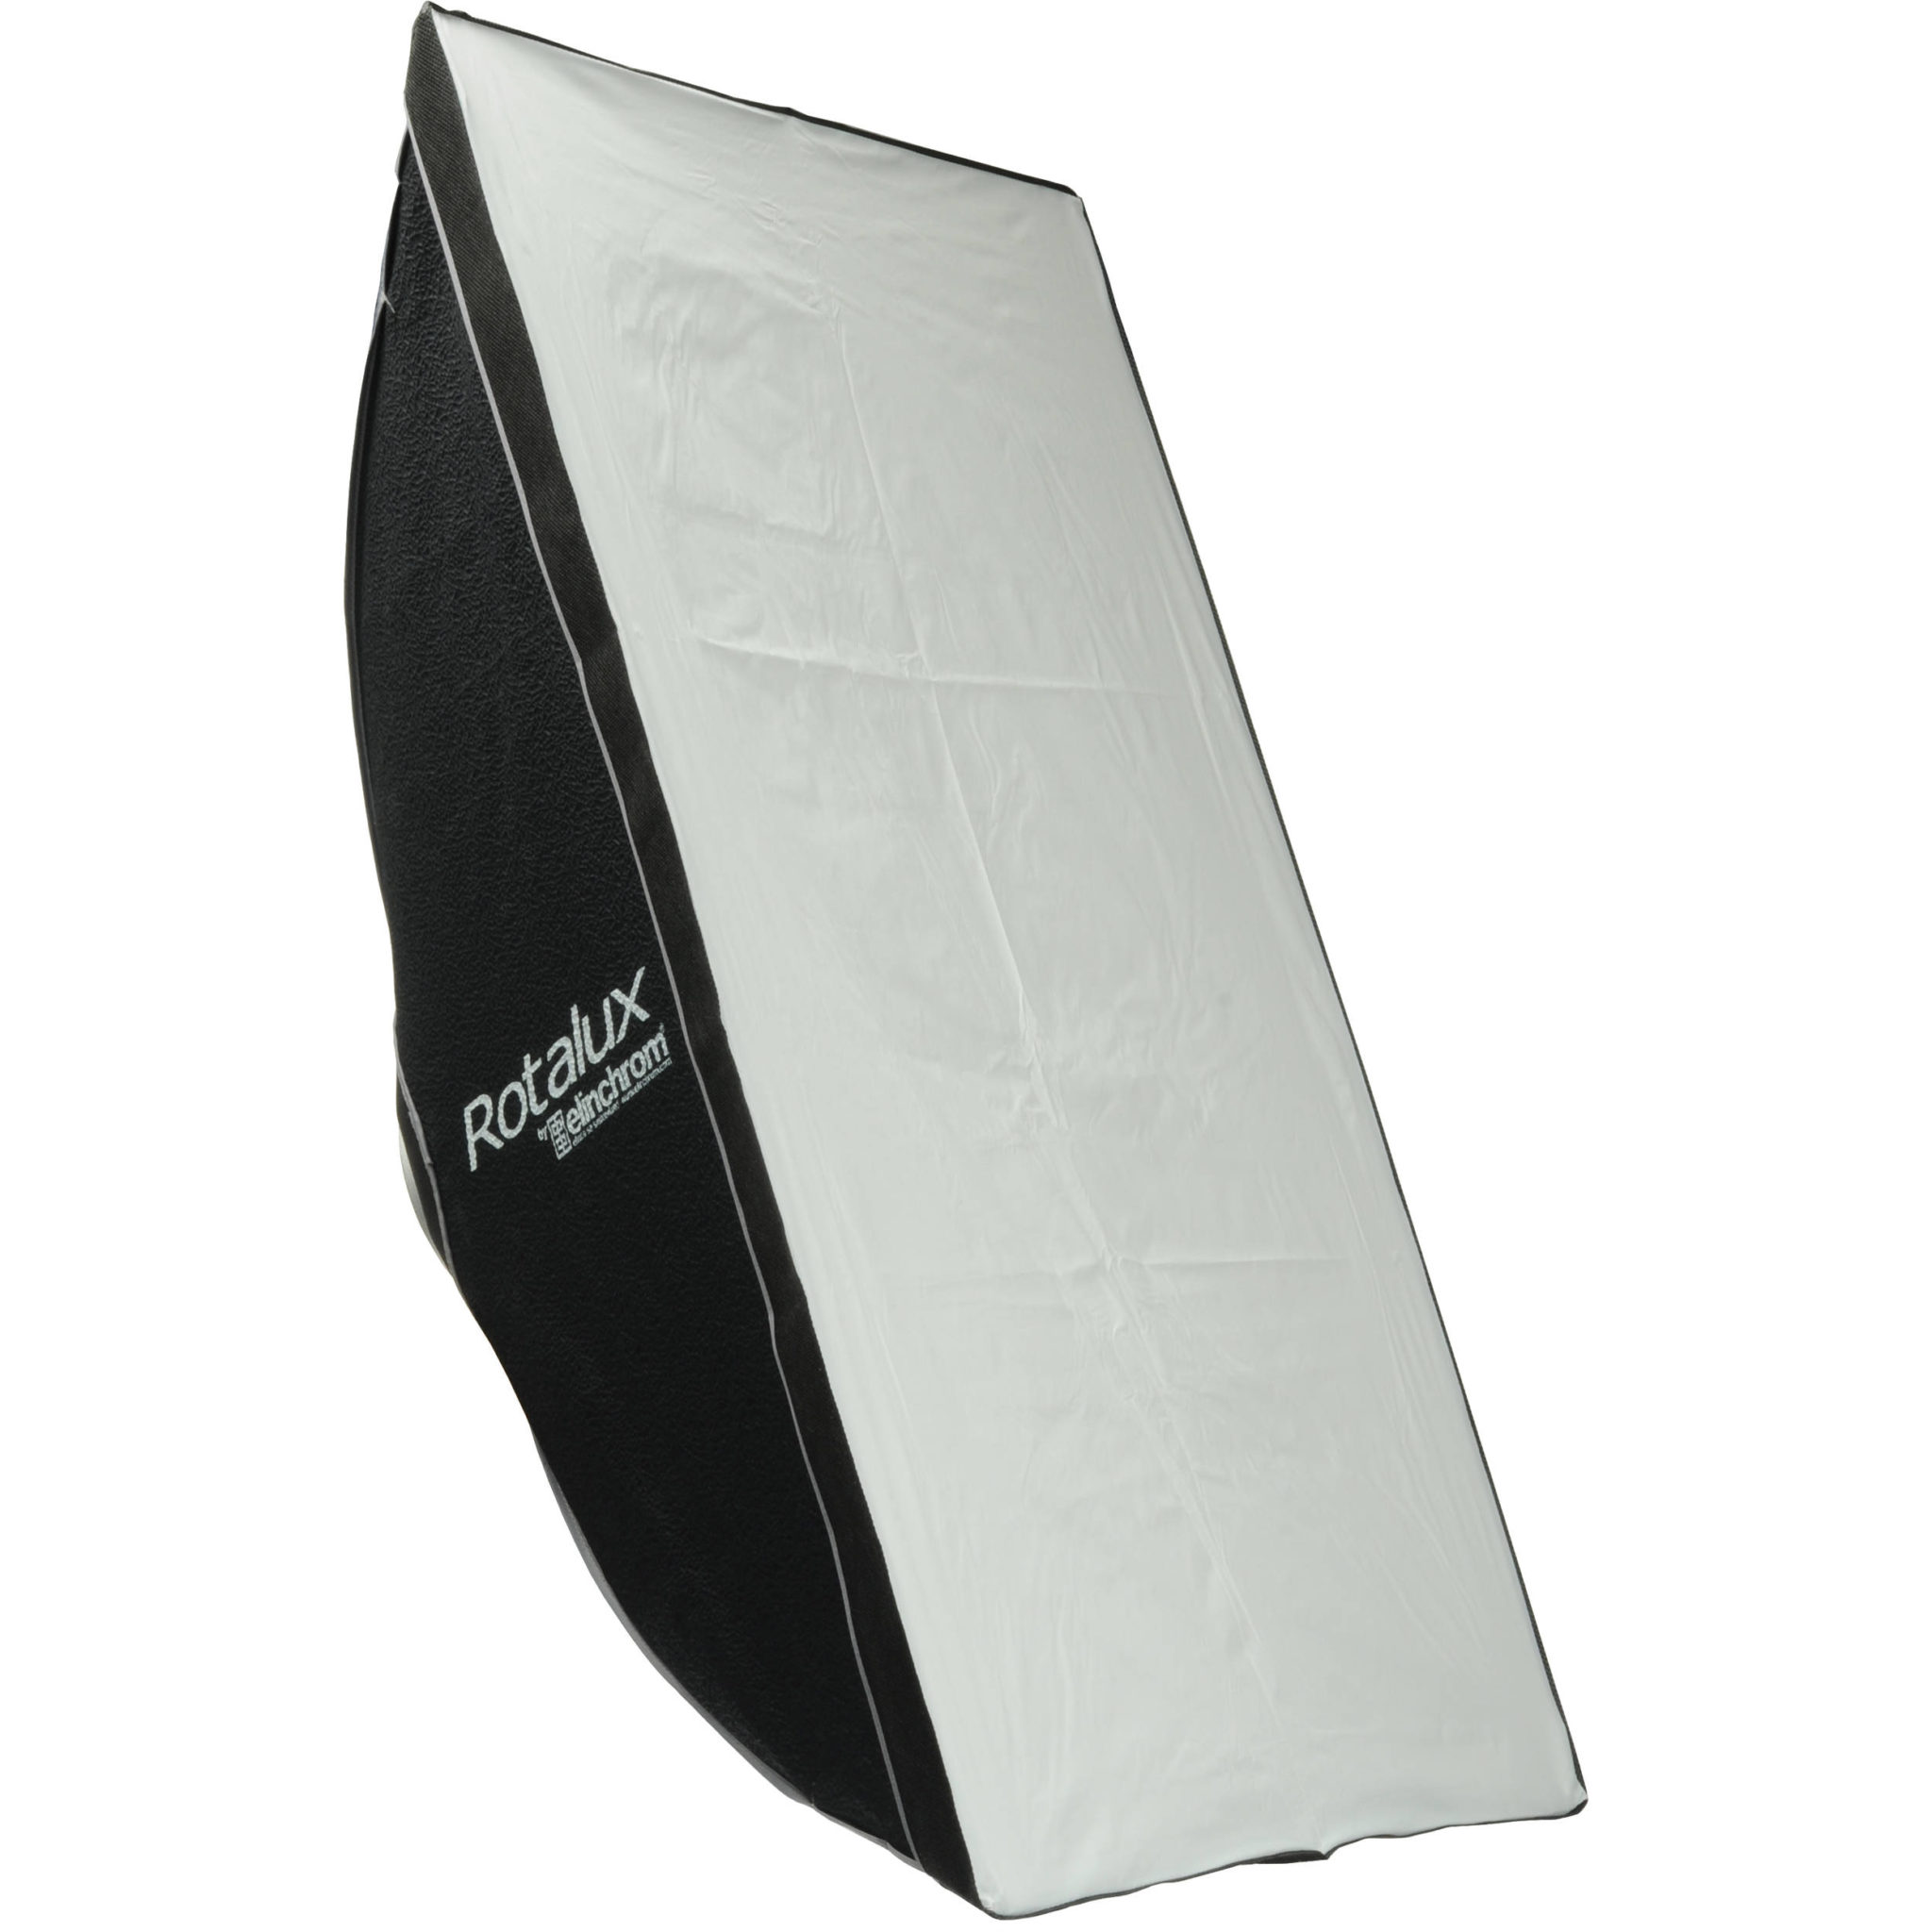
(Left) An Elinchrom Rotalux Softbox (Right) A translucent umbrella
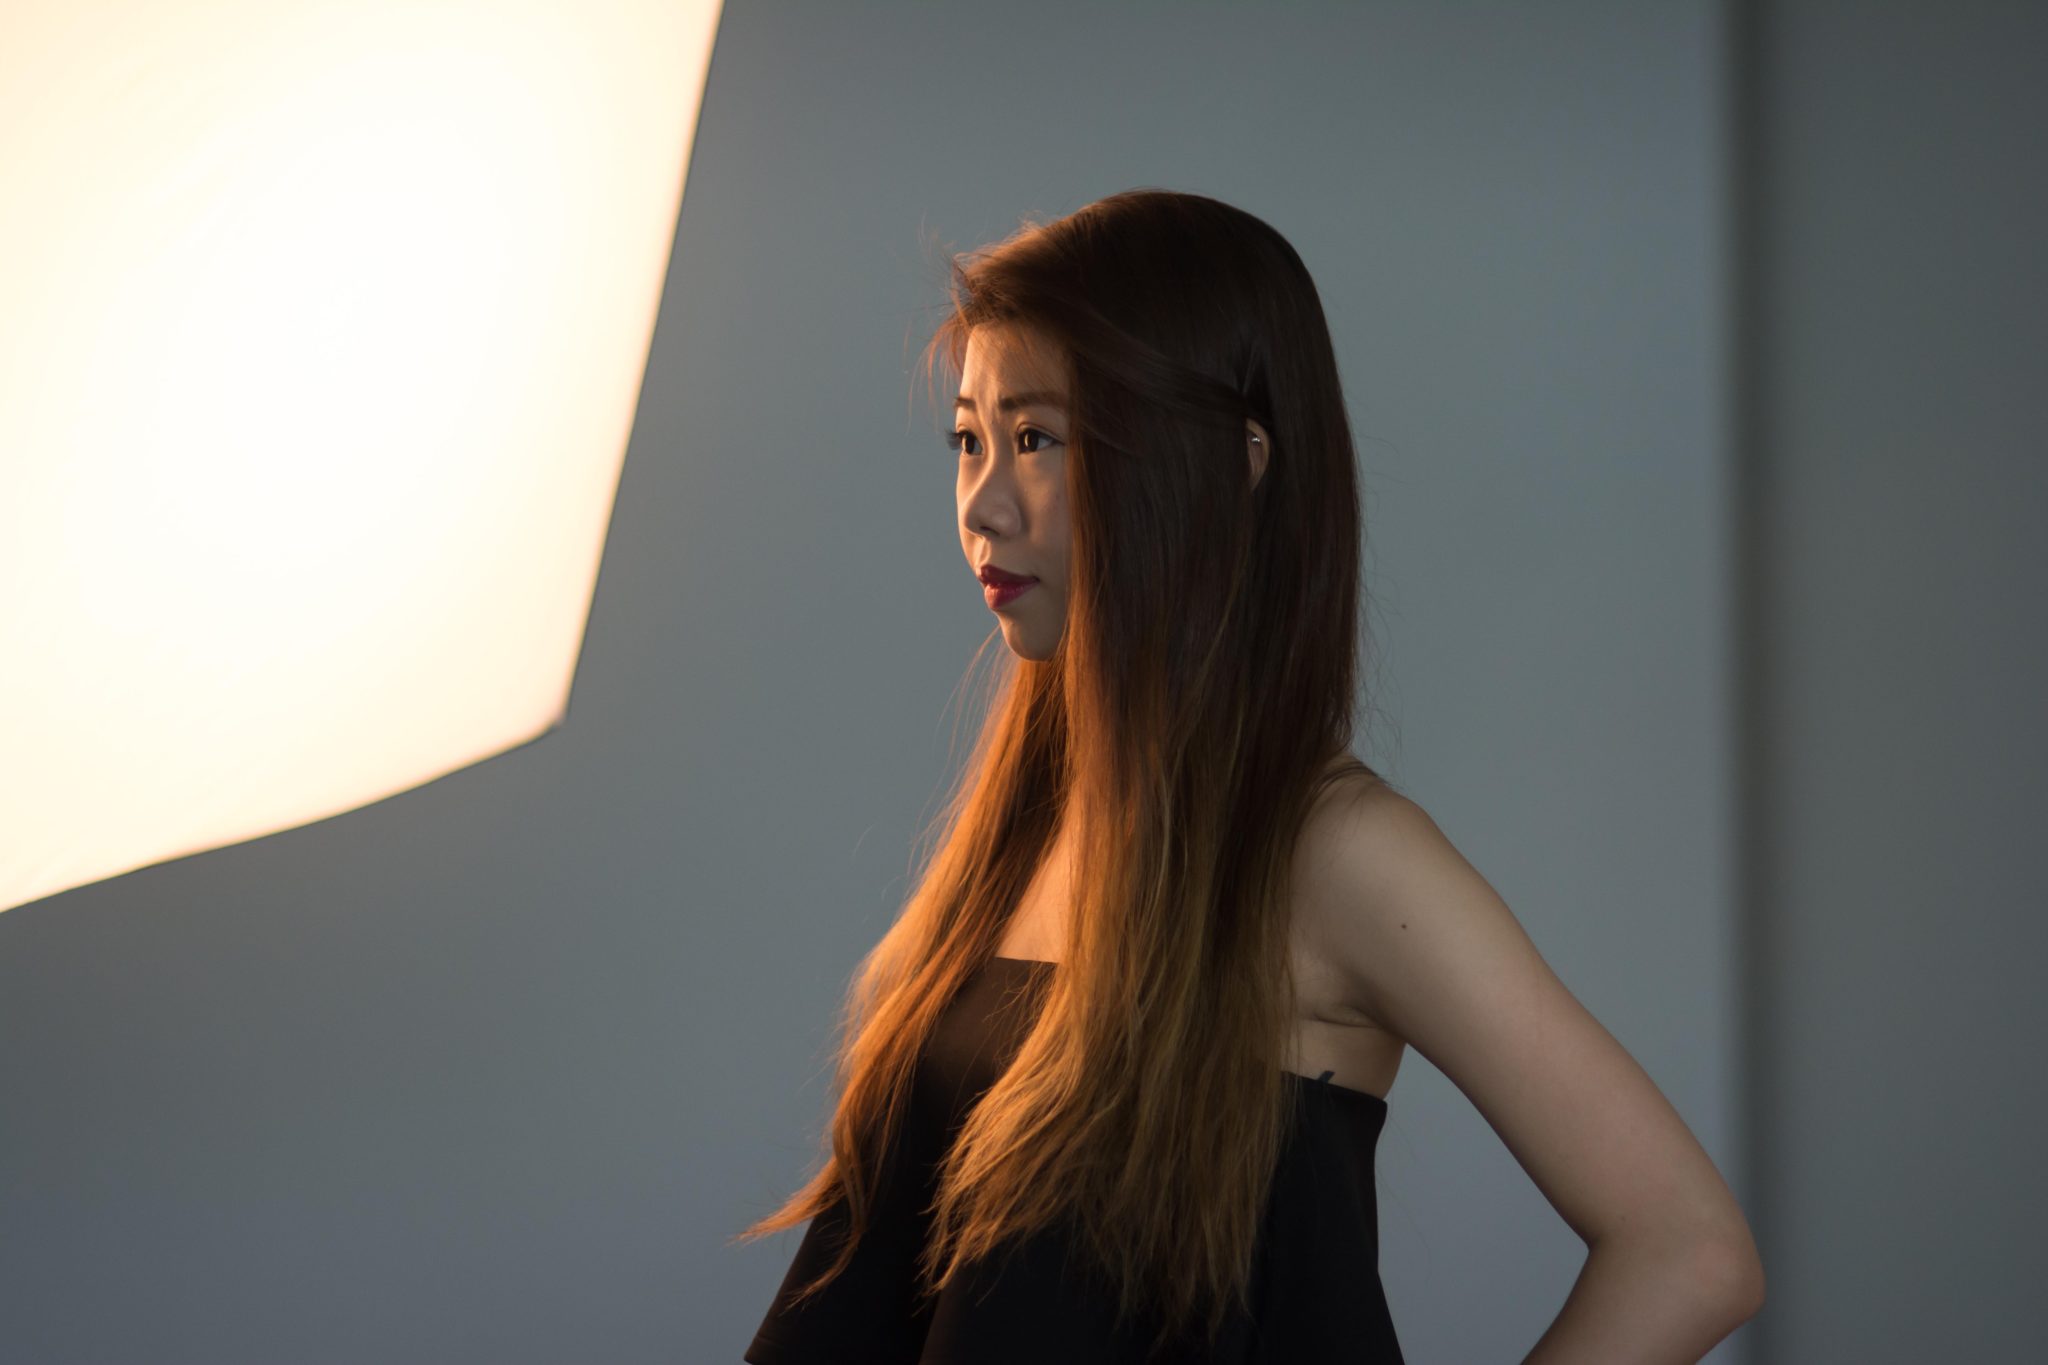
Essential Number 6: Main Light
The main light will be the primary lighting source that will be lighting up your model, and depending on the positioning of your main light you can achieve different effects on your model!
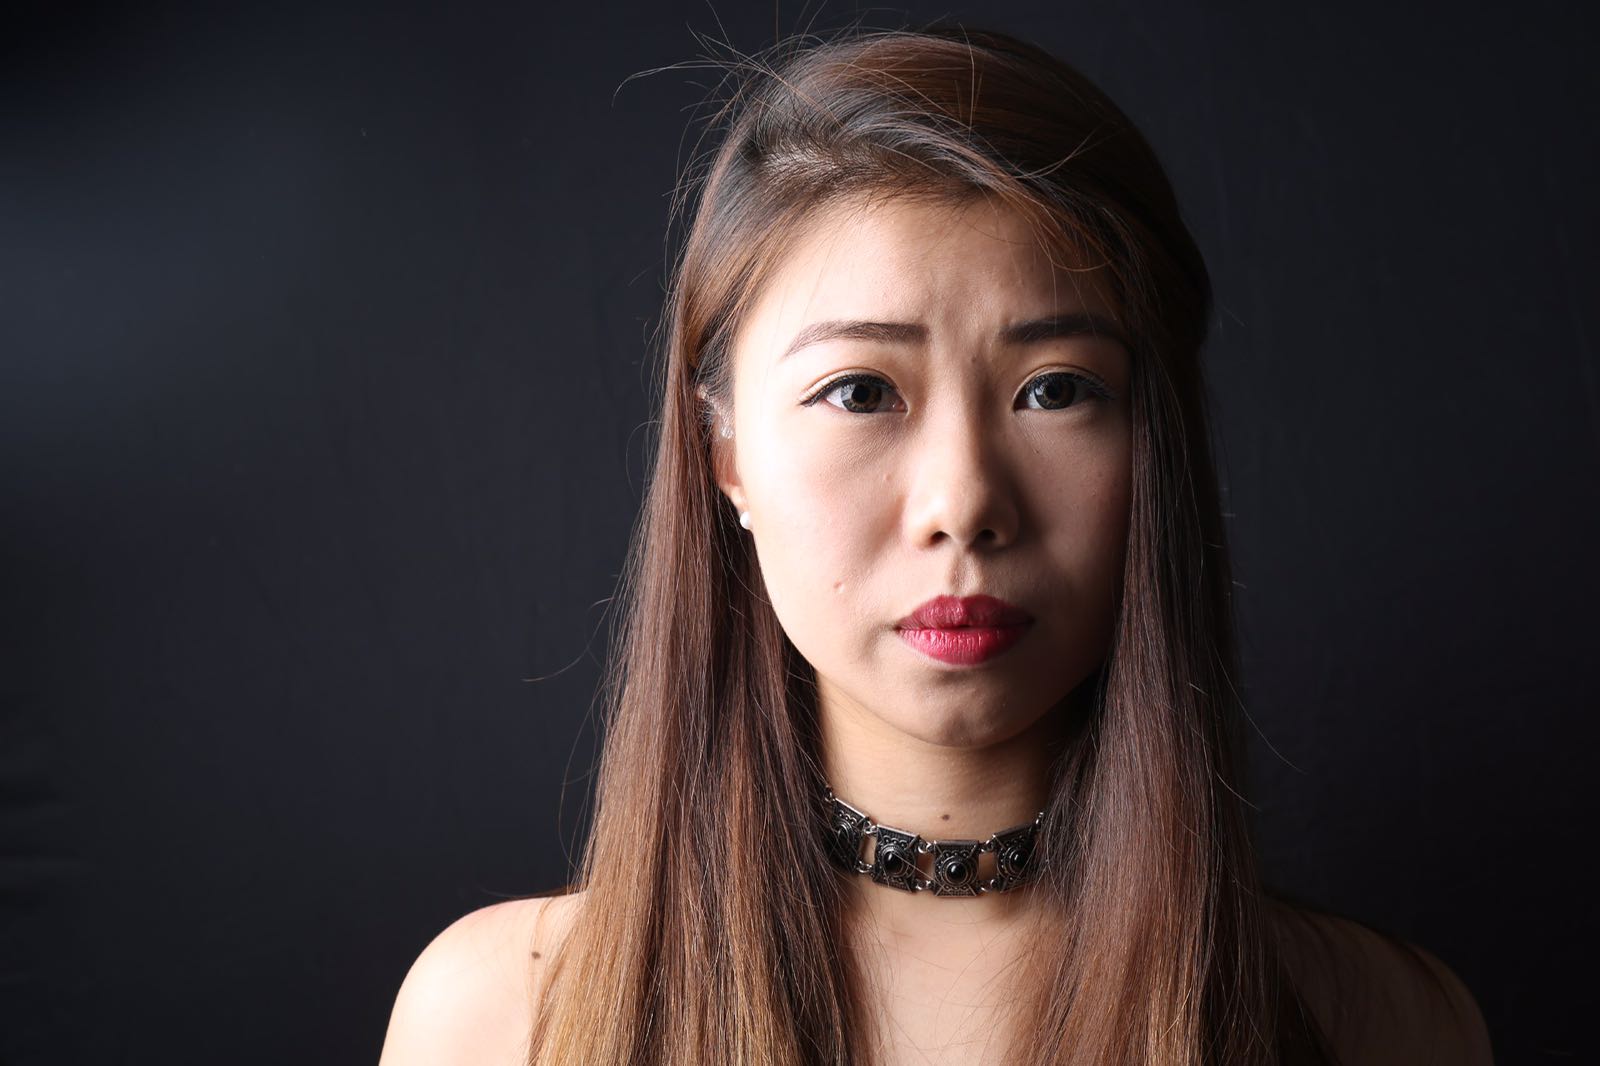
One of the commonly used types of portrait lighting patterns is split lighting as shown above, this involves the main light to be positioned almost 90 degrees to the left or right side of the model. This generates a well exposed face on one side and creates a dramatic effect with shadows on the other side, splitting the face into two equal halves.
Other popular lighting patterns include Rembrandt, Butterfly and many more so go check them out yourselves!
For more information on Elinchrom Studio Lighting visit: http://www.cathayphoto.com.sg/node/16